Description

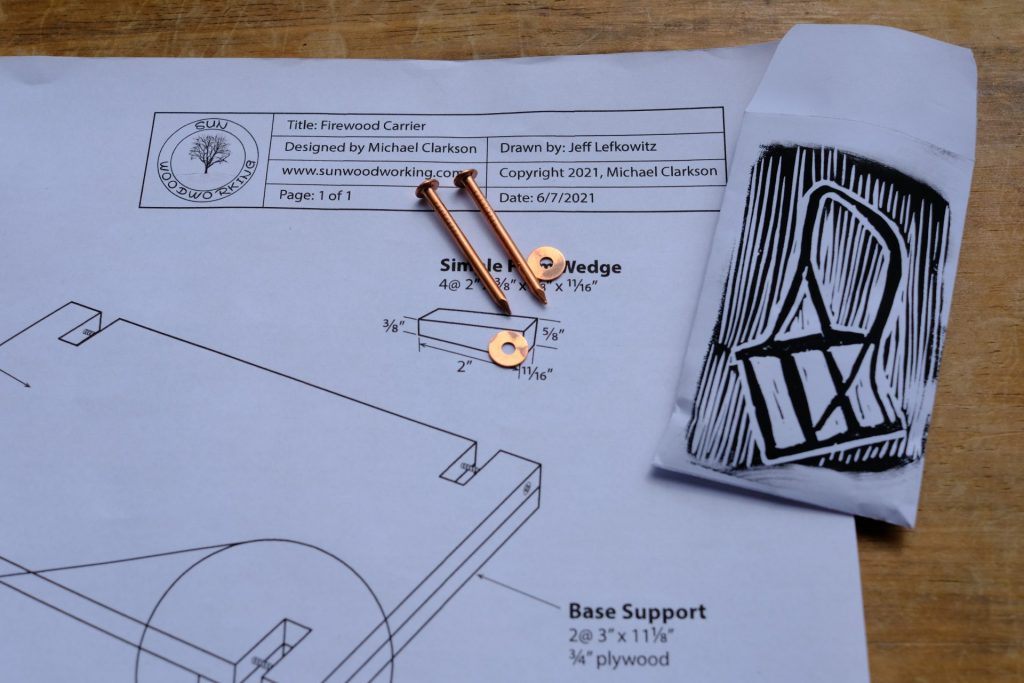
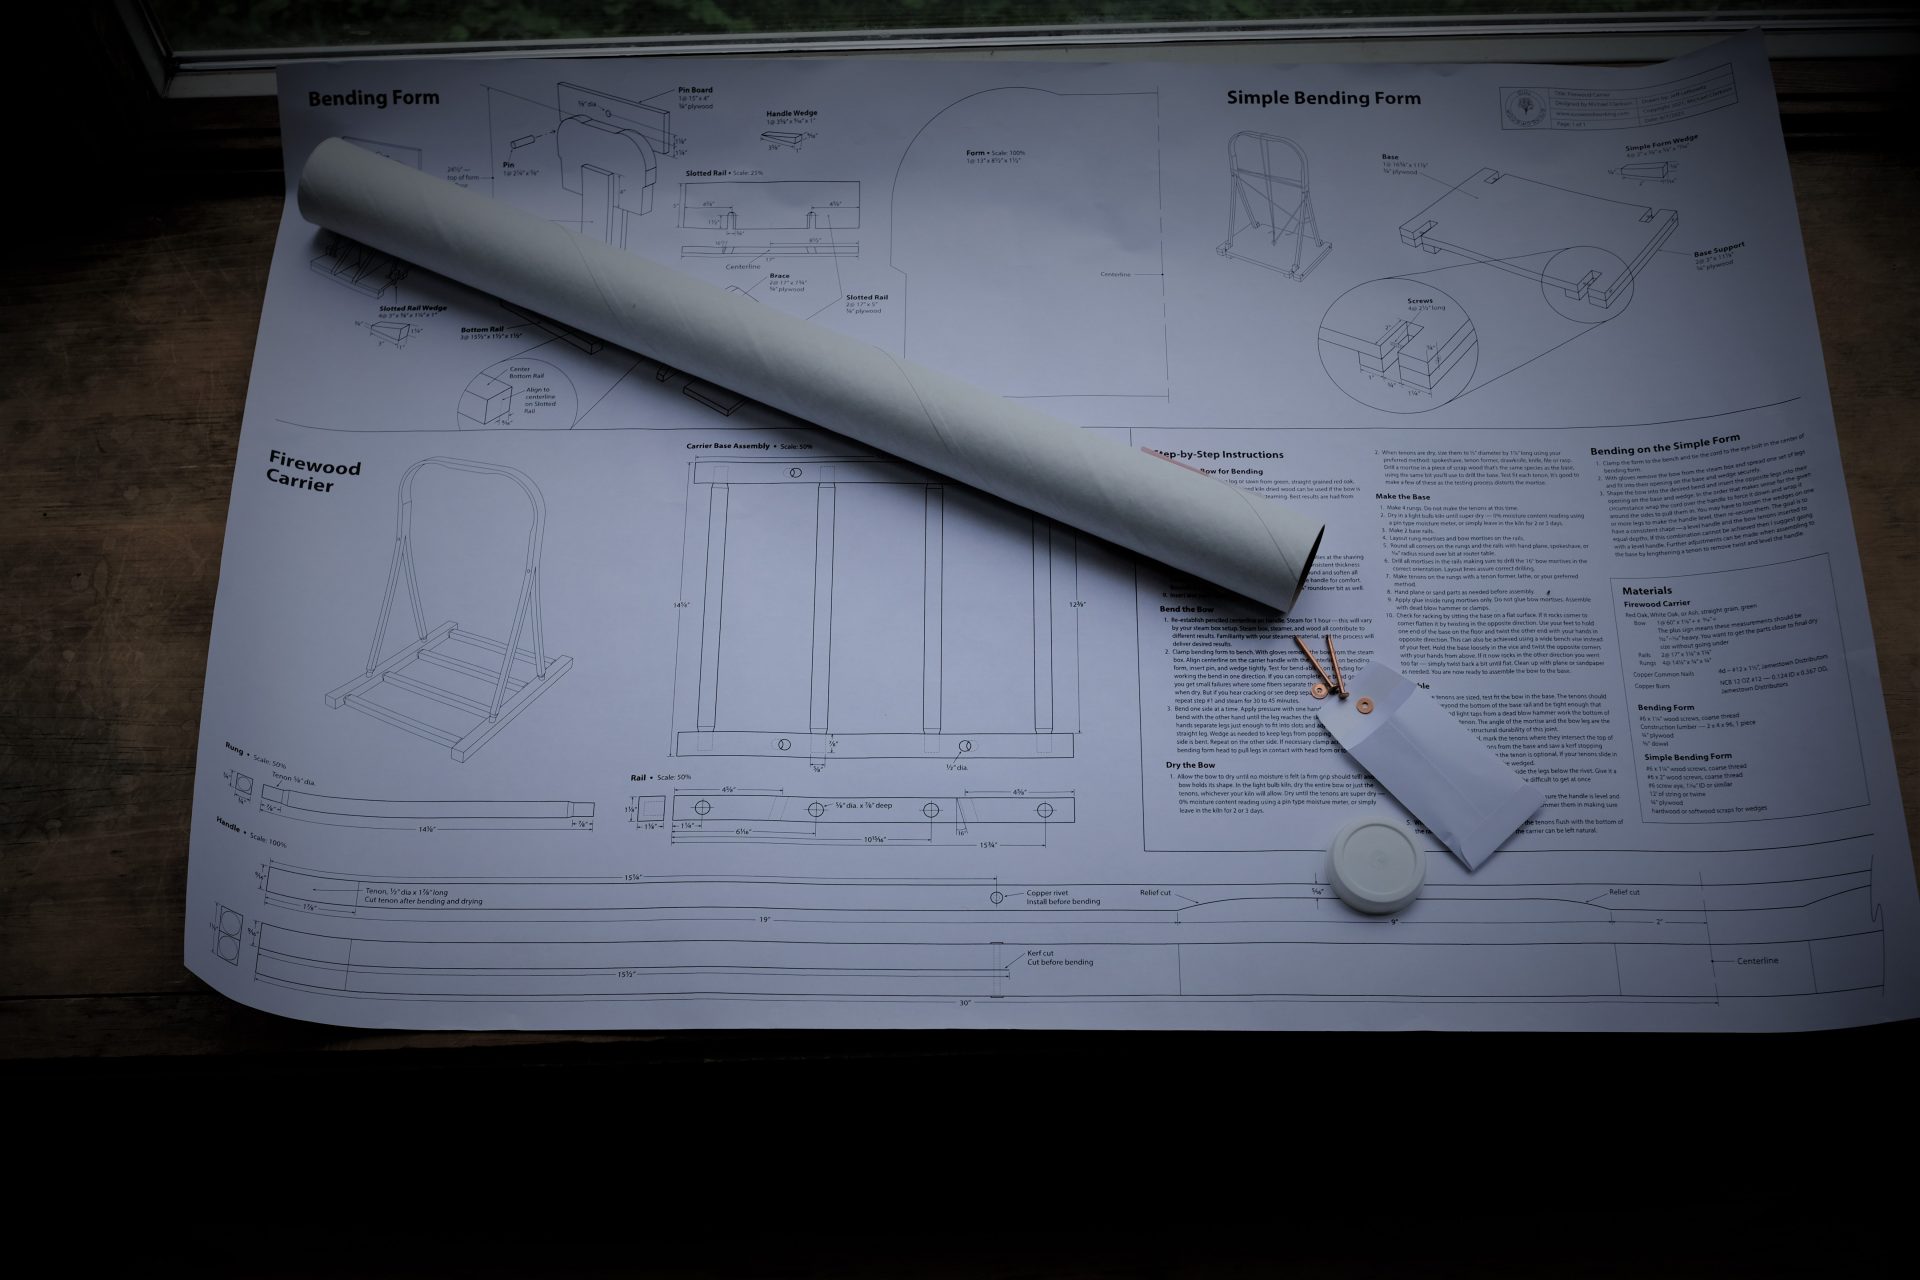
This is a 24″ x 36″ paper plan of my wood carrier. Everything you need to know for this build is on these plans.
$30.00 it ships in a tube with the included copper rivet hardware.
Wood Carrier/Green Woodworking Class available here if your new to this type of woodworking. If you have a bit of experience with green woodworking these plans will be a great asset in making this wood carrier.
Wood carriers are a fantastic woodworking project. They incorporate many techniques that don’t get applied very often in furniture making and are fun and interesting walks through our past. The bows are best made from green wood split out of the log or straight grained wood fresh from the sawmill. With the increased interest in green woodworking, it’s easier to find a sawyer that will work with you. I say try kiln dry wood if it’s all you can get, I have done it in the past. Submerge the shaped bow in a pvc pipe full of water for at least a day, have all your cuts made when you soak it, there is a lot of exposed end grain around the relief cuts to soak up water. No promises kiln drying hardens the cell walls you want them soft and flexible, green is best! White Oak, Red Oak and Ash are my woods of choice for their workability bendability and strength.
This plan includes all the information you need to build two forms for steam bending the bows. A very simple one that is flat and made from plywood you can make it from whatever you want. Scrap wood or scrap plywood is all you need. It’s similar to one you find in article’s about making these things.
And a more involved form to build but worth every bit of the effort. It may seem counterintuitive, but this form is made from the center out to assure even alignment of the form head to the slotted rail. A simple vertical centerline on the head and down the post will line things up nicely. This bending form is the result of much trial and error and many versions over the last 15 years or so. I am really excited to share it with you! It can be made from one 8′ 2 x 4 and some 3/4 plywood or your scrap wood with simple tools. You get a to scale or actual size outline of the bending form head that can be cut out or traced. That way you’ll have consistent bends on each side of the handle without all the fussing around. Two copper nails and two copper burrs are included to make the rivets that go at the intersection of the legs. This is something I stared doing a few years ago, not that I was having a problem with the legs splitting up the bow to the handle, it happened a couple of times, it was piece of mind that something I made for someone would last as long as possible.
Also included on the plan is a step-by-step guide to:
Making the bow- The process in order of cuts to make it go smoothly.
Bending the bow- A crash course in steam bending and how to get the most out of the bending form.
Drying the bow- The tenons need to be dried before assembly and sized to fit.
Making the base- Post and rung joinery.
Assembly- Fitting the bow to the base.
And a materials list, it ships in a tube with the included copper rivet hardware.
This plan was drawn by Jeff Lefkowitz. He’s designed many plans for chair makers settee’s, shaving horse or (benches), stools, chairs and on. This would not have turned out this nice without his expertise, input and advice if your interested in chair making I highly recommend his classes.
Here are some videos showing how to go about making the wood carrier from splitting the log to shaping and bending the bows. If you’ve bought the plans and have any questions regarding the process, please email me at sunwoodworking@gmail.com
The process of breaking the log down to get the wood carrier bow. It is split in half then halved again and again until the bolts are manageable. This is being split on the ground because it is too awkward for me to stand it up. The split ran off course, so I came from the end to finish it and reduce waste. The remaining pieces are much more manageable. I used the logs as a riving brake.
Here I am using the chop block and the base of a workbench as a riving brake.
Here we make the bow to final size.
Now we can mark everything as the plans show. Where to start and stop cuts and drillings.
Prepare the bow for riveting
Riveting
A quick look at the bending form and bending a bow on it. I steam these for over an hour it’s a wallpaper steamer filled with water and then half again for about an hour and a half of steaming. A clamp can be used to pull the sides into the form just keep the legs as straight as possible so it’s a pretty straight shot when attaching to the base.


